


Mini Split Installation in Katy, TX
Mini Split Installation in Katy, TX
Installing a mini split system in Katy, TX is a practical choice for homeowners who need targeted cooling and heating, better energy efficiency, and flexible zone control. With hot, humid summers and mild winters, Katy homes benefit from the precise temperature and humidity control mini splits provide. This page explains the full installation process, common issues specific to Katy, what to expect on installation day, warranty and post-installation support so you can make a confident, informed decision.
Why choose a mini split in Katy, TX
- Superior humidity control for Houston-area humidity levels, reducing indoor discomfort and mold risk.
- Zoned comfort for additions, garages converted to living space, bonus rooms, and older homes without ductwork.
- Energy savings compared with running a whole-house system for single-room needs.
- Minimal disruption: small foot print and no major ductwork installation required.
Pre-installation consultation and site assessment
A proper mini split installation begins with an on-site consultation. Typical assessment items:
- Load evaluation: sizing units based on room square footage, ceiling height, insulation, sun exposure, and Katy climate conditions that increase cooling loads.
- Existing system review: whether the mini split will supplement or replace existing HVAC, and how it will integrate with current electrical capacity.
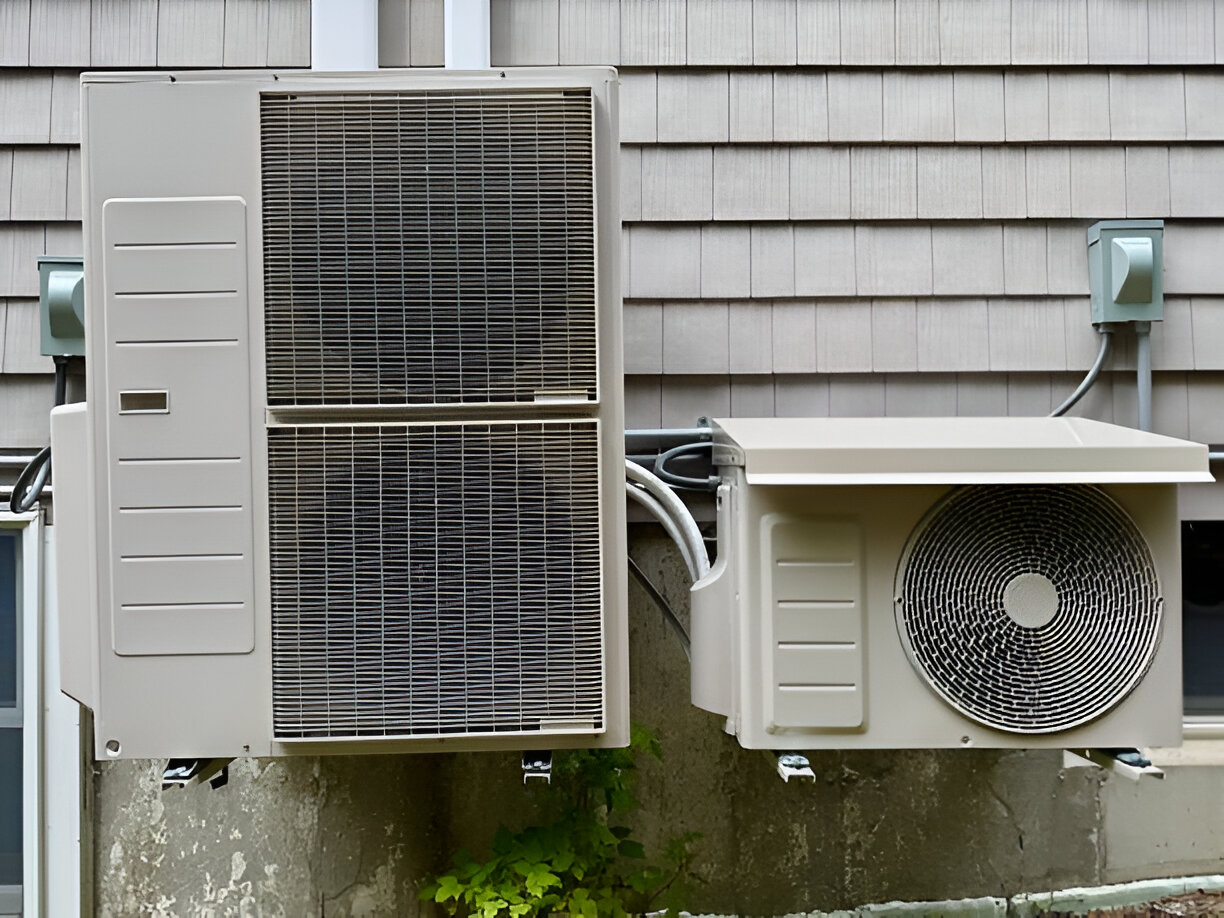
- Unit placement planning: interior head locations, outdoor condenser position, shortest and safest refrigerant line routing, and condensate drain routing.
- Structural checks: suitable wall, ceiling, or floor mounting surfaces and whether a concrete pad or bracket is needed for the outdoor unit.
- Local compliance: review of local building codes and permit requirements to ensure installations meet Katy and Harris County standards.
System design and unit placement strategies
Correct unit selection and placement influence performance and longevity.
- Right-sizing: choose the appropriate capacity to handle Katy summers without short cycling. Oversized systems waste energy and undersized systems run continuously.
- Multiple indoor heads for zoning: ideal for multi-room control and reducing energy usage in unoccupied areas.
- Head placement tips:
- Mount high on an interior wall for even air distribution.
- Avoid placing heads directly above beds or workstations to prevent drafts.
- Consider sun-facing walls and provide shade for exterior units to improve efficiency.
- Outdoor unit positioning:
- Place on a raised pad or sturdy bracket to protect against flooding during heavy rains.
- Ensure 24 to 36 inches of clear airflow around the unit and maintain clearance from landscaping.
- Secure anchoring for wind resistance during severe weather seasons.
Installation steps: what installers do
Installations follow a standard sequence to ensure safety and system performance.
- Mount indoor units: secure wall plates or ceiling brackets, level units, and prepare penetrations for line sets and condensate.
- Run refrigerant lines and condensate: route insulated copper lines through the shortest practical path, install a neutralized condensate drain if needed for humid conditions, and seal penetrations against weather and pests.
- Install outdoor condenser: place on a pad or bracket, connect lines, and ensure proper clearance and anchoring.
- Electrical work: install disconnects, run proper gauge wiring, and connect the system to a dedicated circuit. Confirm compatibility with home electrical service and ground fault protection where required.
- Line evacuation and charge: vacuum the lines to remove moisture and air, then charge the system with the correct refrigerant amount or configure for a factory-sealed unit.
- Controls and thermostat setup: mount remotes or wired controllers, configure Wi Fi or smart control options if available, and set initial schedules.
Testing and commissioning
Proper testing ensures efficiency and reliability from day one.
- Pressure and leak checks to confirm system integrity.
- Vacuum and refrigeration charge verification, using superheat/subcooling methods when required.
- Electrical checks: voltage, amperage, and safety disconnect operation.
- Airflow and temperature checks across the evaporator to confirm cooling output and balance.
- Condensate flow test and drainage verification to avoid future water damage.
- Noise and vibration inspection to ensure outdoor and indoor units operate quietly.
Typical timeline and homeowner preparation
- Single-zone installations in a standard room typically take 4 to 8 hours.
- Multi-zone systems or complex retrofits may require a full day or two, depending on line set length, number of penetrations, or unexpected structural issues.Homeowner preparation tips:
- Clear access to installation areas and outdoor unit location, remove large furniture and wall hangings.
- Ensure pets are secured.
- Have a dedicated circuit available or be prepared for temporary power interruptions.
- Identify where the installer can access attic or crawl spaces if needed for routing lines.
Common mini split installation issues in Katy, TX and how installers prevent them
- Improper sizing: Avoided by load calculations that factor in Katy heat and humidity.
- Poor indoor head placement causing uneven comfort: Prevented through strategic placement during the site assessment.
- Inadequate condensate drainage leading to leaks: Solved with properly sloped, insulated drain lines and condensation management for humid climates.
- Outdoor unit flooding or wind damage: Mitigated with elevated pads, secure anchoring, and location planning.
- Electrical undersizing or incorrect wiring: Prevented by verifying electrical service and installing appropriately sized breakers and disconnects.
- Refrigerant leaks or incorrect charge: Addressed through correct evacuation, leak testing, and precision charging during commissioning.
Warranty information and post-installation support
- Manufacturer warranty: Typical manufacturer coverage includes a parts warranty for compressors and electronics; durations vary by brand and model.
- Installer workmanship warranty: Reputable installations include a workmanship warranty for labor and installation-related issues for a specified period.
- Registration and documentation: Register equipment with the manufacturer and maintain installation paperwork and commissioning records to support warranty claims.
- Post-install support services: seasonal maintenance checks, filter changes, condensate cleaning, refrigerant leak diagnosis, and remote control assistance. Regular maintenance is especially important in Katy to maintain dehumidification performance and energy efficiency during long cooling seasons.
Maintenance and longevity tips
- Replace or clean filters monthly during heavy use to maintain airflow and indoor air quality.
- Schedule professional inspections annually to check refrigerant levels, electrical connections, and drain integrity.
- Keep outdoor units clear of debris and trim vegetation to maintain airflow.
- Use zoning and smart schedules to reduce runtime and extend system life while lowering energy costs.
- During hurricane season, consider temporary protection measures for outdoor units and ensure anchoring is inspected.
ConclusionA correctly specified and professionally installed mini split system delivers reliable, efficient comfort for Katy homes, addressing the region's high cooling demands and humidity challenges. Thorough pre-installation assessment, precise installation steps, careful commissioning, and ongoing maintenance are the keys to long-term performance and warranty protection. This approach reduces common problems and ensures the system meets the expectations for comfort, efficiency, and durability in the Katy, TX climate.
Customer Testimonials
Our customers praise our exceptional service and attention to detail, consistently exceeding expectations.